|
Baby Sock Rose Bouquet Instructions - easy instructions with pictures -
A baby sock rose bouquet is a beautiful and perfect gift for an expectant mother at her baby shower or for a new mother while she is still in the hospital. It can almost look like a real rose bouquet, and it will last a lot longer! (until the mother needs the baby socks :] )
A baby sock rose bouquet is a wonderful baby shower gift, and EVERYONE at the shower is sure to comment on how beautiful it is! As hostess of a baby shower, make a baby-sock bouquet to use as your centerpiece. It will be an eye-catching decoration, and it can double as a gift as well. These rose bouquets are simple to make, but they do require a little bit of time. Each rose can take from 5-10 minutes to make (except for the first one you make - that one always takes A LOT longer!) But once you get the hang of it, these roses are fairly easy to make. Let's start the bouquet-making process with a list of materials you will need: • Green floral tape Now, with these supplies and the instructions below, let's make a baby-sock rose bouquet!
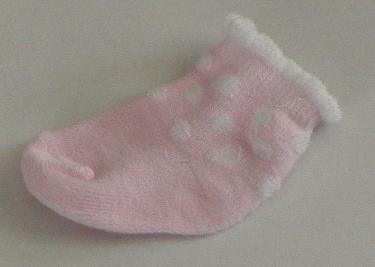
Step 1: Lay out your first baby sock. It doesn't matter if the toe is to the left or right. Make sure you are using baby socks, rather than baby booties. Baby booties are too long and don't form a very good flower bud.
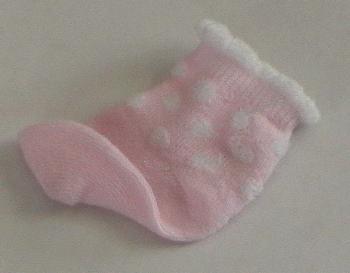
Step 2: Now, start to fold the toe of the sock upwards (as shown to the right). Don't roll the sock too tightly, but don't let the roll be big and loose either. Roll the base of the sock up so that it is parallel to the opening of the sock. Then slightly angle the toe of the sock upwards, toward the opening.
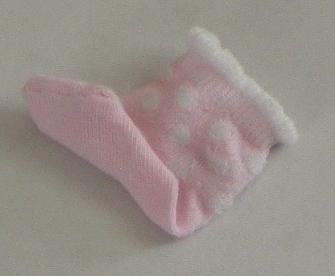
Step 3: Make a second roll in the sock. Keep your rolls fairly tight, but don't overly tug or stretch the sock while rolling it up.
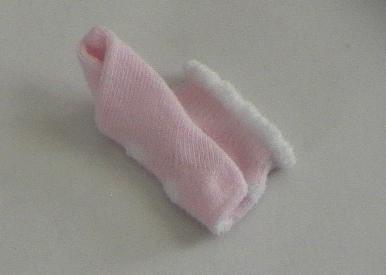
Step 4: Make a third roll similar to the second. Most baby-sock roses require only 3 rolls (baby socks are not very big, obviously). When you make your last roll, make sure to leave a little bit of unrolled sock by the opening (as shown to the right).
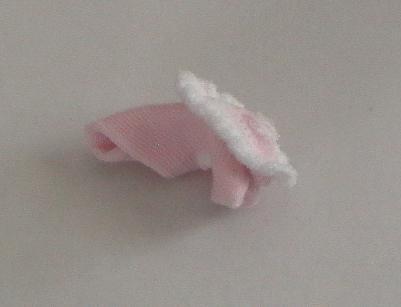
Step 5: Now, while holding the rolls together with one hand, take the opening of the sock with the other hand and begin to open the sock (inside out) around the rolls.
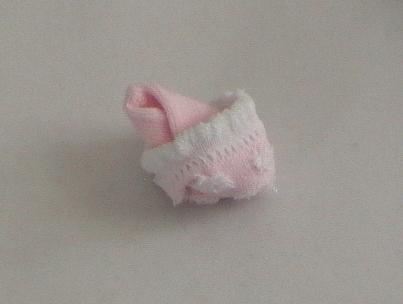
Step 6: Continue wrapping the opening of the sock around the rolls until you have wrapped the opening about half-way up the the length of the rolls.
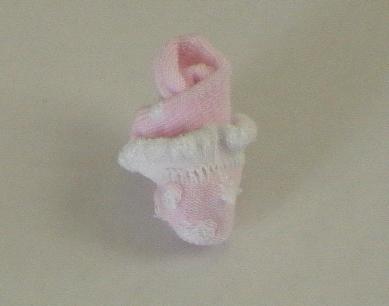
As a second part to this step, pull the rose bud straight, and adjust the opening (that you wrapped around the sock) so that it looks even.
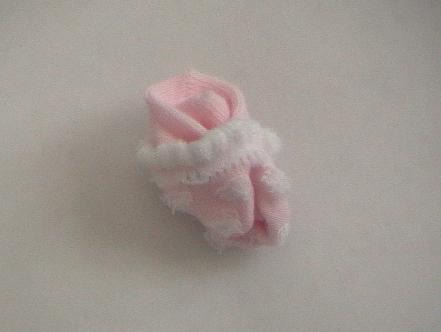
Step 7: To make the rose look more like an blooming blossum, pull the inner part of the sock out from the top of the blossum.
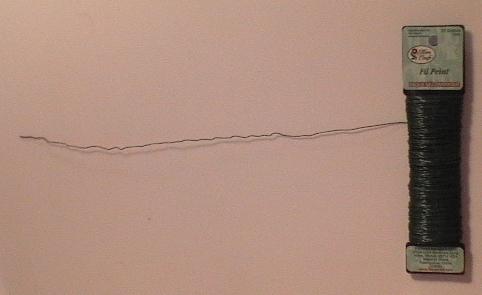
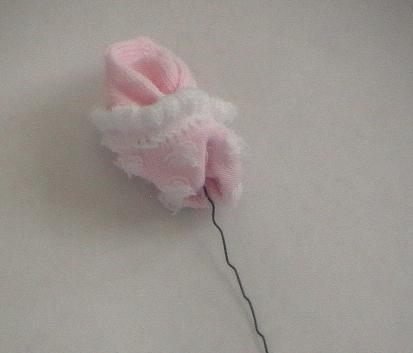
Step 9: Place the wire stem into the bottom opening of the baby sock rose. Place it as high up the sock as you can go, without it poking through the top of the sock. An inch is a good distance.
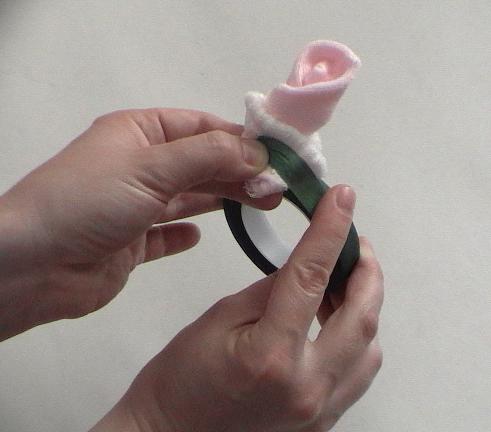
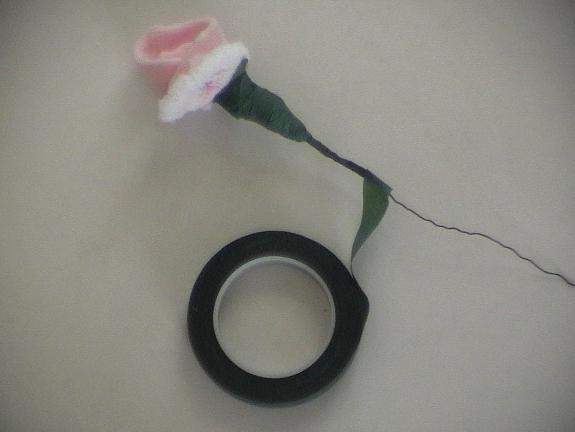
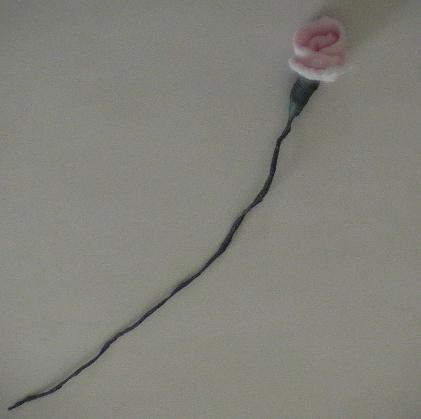
Step 12: Continue wrapping the stem all the way to the bottom, cut the tape and Voila! You have finished your first baby sock rose!!!!! Now, using the instructions above, make as many roses as you want for your baby sock rose bouquet. You can't go wrong with a dozen roses, BUT that is quite a bit of work - so my advice: make your first rose and then decide how many you would like to include in your bouquet. After the first 2 or 3 roses, it gets to be pretty simple.
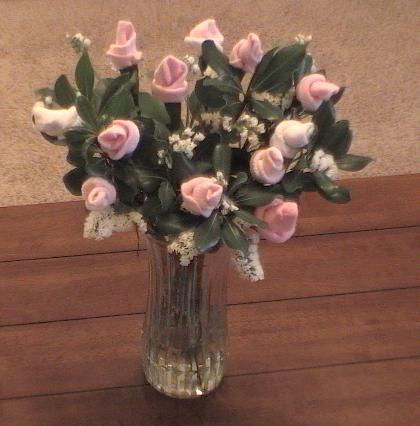
Step 13: Place the baby sock roses into a vase, and then add additional greenery, baby's breath, and/or other floral pieces to complete the baby sock bouquet. For the baby sock rose bouquet in the picture, I added one small packet of greenery and then placed several stems of small, white flowers to add volume to the bouquet. Doing this also gives more balance to the bouquet, and it looks almost like a real bouquet of roses!
For many women, receiving a bouquet of flowers is a very meaningful and special experience, even if they are made from baby socks! So good luck making a bouquet of baby sock roses, and send me a picture of the finished product when you are done. I would love to post it on the website here!
|


